Printing TPU/TPE on Your LulzBot
3D printed parts don’t have to just be made of hard plastic! The options for flexible 3D printable materials have grown significantly over the years and open a whole new world of creativity and design options. From creating wearable items like bracelets and watch bands to manufacturing tools and jigs, you can give your prints some bend, elasticity, or even bounce. There are many applications for these filaments, especially when paired with your LulzBot machine.
LulzBot stocks many flexible filament colors and types that you can choose from that pair perfectly with their printers. These rubbery materials behave much differently than your typical PLA or ABS plastics, so I tested out four different varieties of flexible filaments on my LulzBot Sidekick printer with a variety of designs, as well as the tools you need to get started 3D printing these filaments.
Here’s what you need to know to get started making flexible prints on your LulzBot machine.
Getting started with the basics
There are two main types of flexible 3D printing filaments: thermoplastic polyurethane (TPU) and thermoplastic elastomers (TPE). Both are very similar materials that create a flexible print. In general TPE is a bit softer, which can make it a little more challenging to print with. The outcome of TPE prints can be closer to a rubber. You can find both TPE and TPU filaments offered by LulzBot here.
Also, keep an eye out for the shore hardness of the material. Shore hardness is a measure of how much the material can resist being indented when pressure is applied. This helps you determine how hard or flexible the items printed from the material will be. It is used as a measure in many industries that use flexible rubber-like materials, not just 3D printing. There is an “A” scale for softer materials, and a “D” scale for harder materials. The higher the number, the harder the material. TPU and TPE filaments commonly have shore hardness values in the 80As or 90As.
The shore hardness is often either listed in the product description or the name of the filament itself. For example, the shore hardness of the Fenner Drives NinjaFlex 85A Filament offered by LulzBot is 85A.
Getting the equipment you need

When I originally got my LulzBot 747 Sidekick, it came with a SK1.75mm Tool Head. Although this smaller 1.75mm nozzle is possible to print flexible materials with, I highly recommend getting an additional 2.85mm Tool Head if you don’t already have one for printing flexibles. The larger size is helpful for creating a consistent flow of the material and preventing clogging.
LulzBot machines make it very easy to swap out the Tool Heads. With just a few screws removed and cords unplugged, you can swap in a new Tool Head to your LulzBot printer.
Also, double check that you have a direct drive Tool Head. All LulzBot printers currently have direct drive, making any current LulzBot printer a great fit for your flexible 3D printing projects. Direct drive Tool Heads don't need large retractions and can provide better control over notoriously hard to control flexible materials.
Retracting is a process through which a print head pulls some filament back into the Tool Head to prevent stringing during the printing process. Large retractions can cause issues for flexible materials since they stretch when pulled, rather than immediately responding to the machine's motion like more traditional plastics. The other common Tool Head type, Bowden head, can work too, but might risk some additional stringing and require additional work to dial in the print quality.

Heated glass print bed
I absolutely love my magnetic print bed on my LulzBot Sidekick 747. It makes print removal a dream. But in the case of flexible filaments, a glass print surface is recommended. LulzBot offers a reversible PEI/glass bed that is perfect for these projects. TPU/TPE likes to stick to PEI a little too much. The swap out is simple and absolutely worth it.
On top of the glass, don’t forget to lay down some of your glue stick to ensure adhesion of your print. In case you forget, within LulzBot’s slicer program, Cura LE, the default print profiles for flexibles give you tips in there as well, reminding you to use glue.
Device settings
When in doubt, set up the LulzBot to avoid clogging and encourage the prints to stick to the print bed. Flexible filaments love to try to clog your device, so using a larger nozzle, appropriate heats, and removing the filament guide tube when necessary helps you print TPU and TPE on your LulzBot printer.
LulzBot’s Cura platform has a number of settings built in for flexible filaments, including NinjaTek’s NinjaFlex and JABIL’s SEBS filament. You will even see some notes pop up for more effective printing giving suggestions to:
- Use a glue stick with PEI or print directly on glass for NinjaFlex and SEBS
- Not use the filament guide tube for SEBS
These preloaded material profiles are a fantastic starting point to do your first flexible prints with, and then you can adjust as needed.
Materials

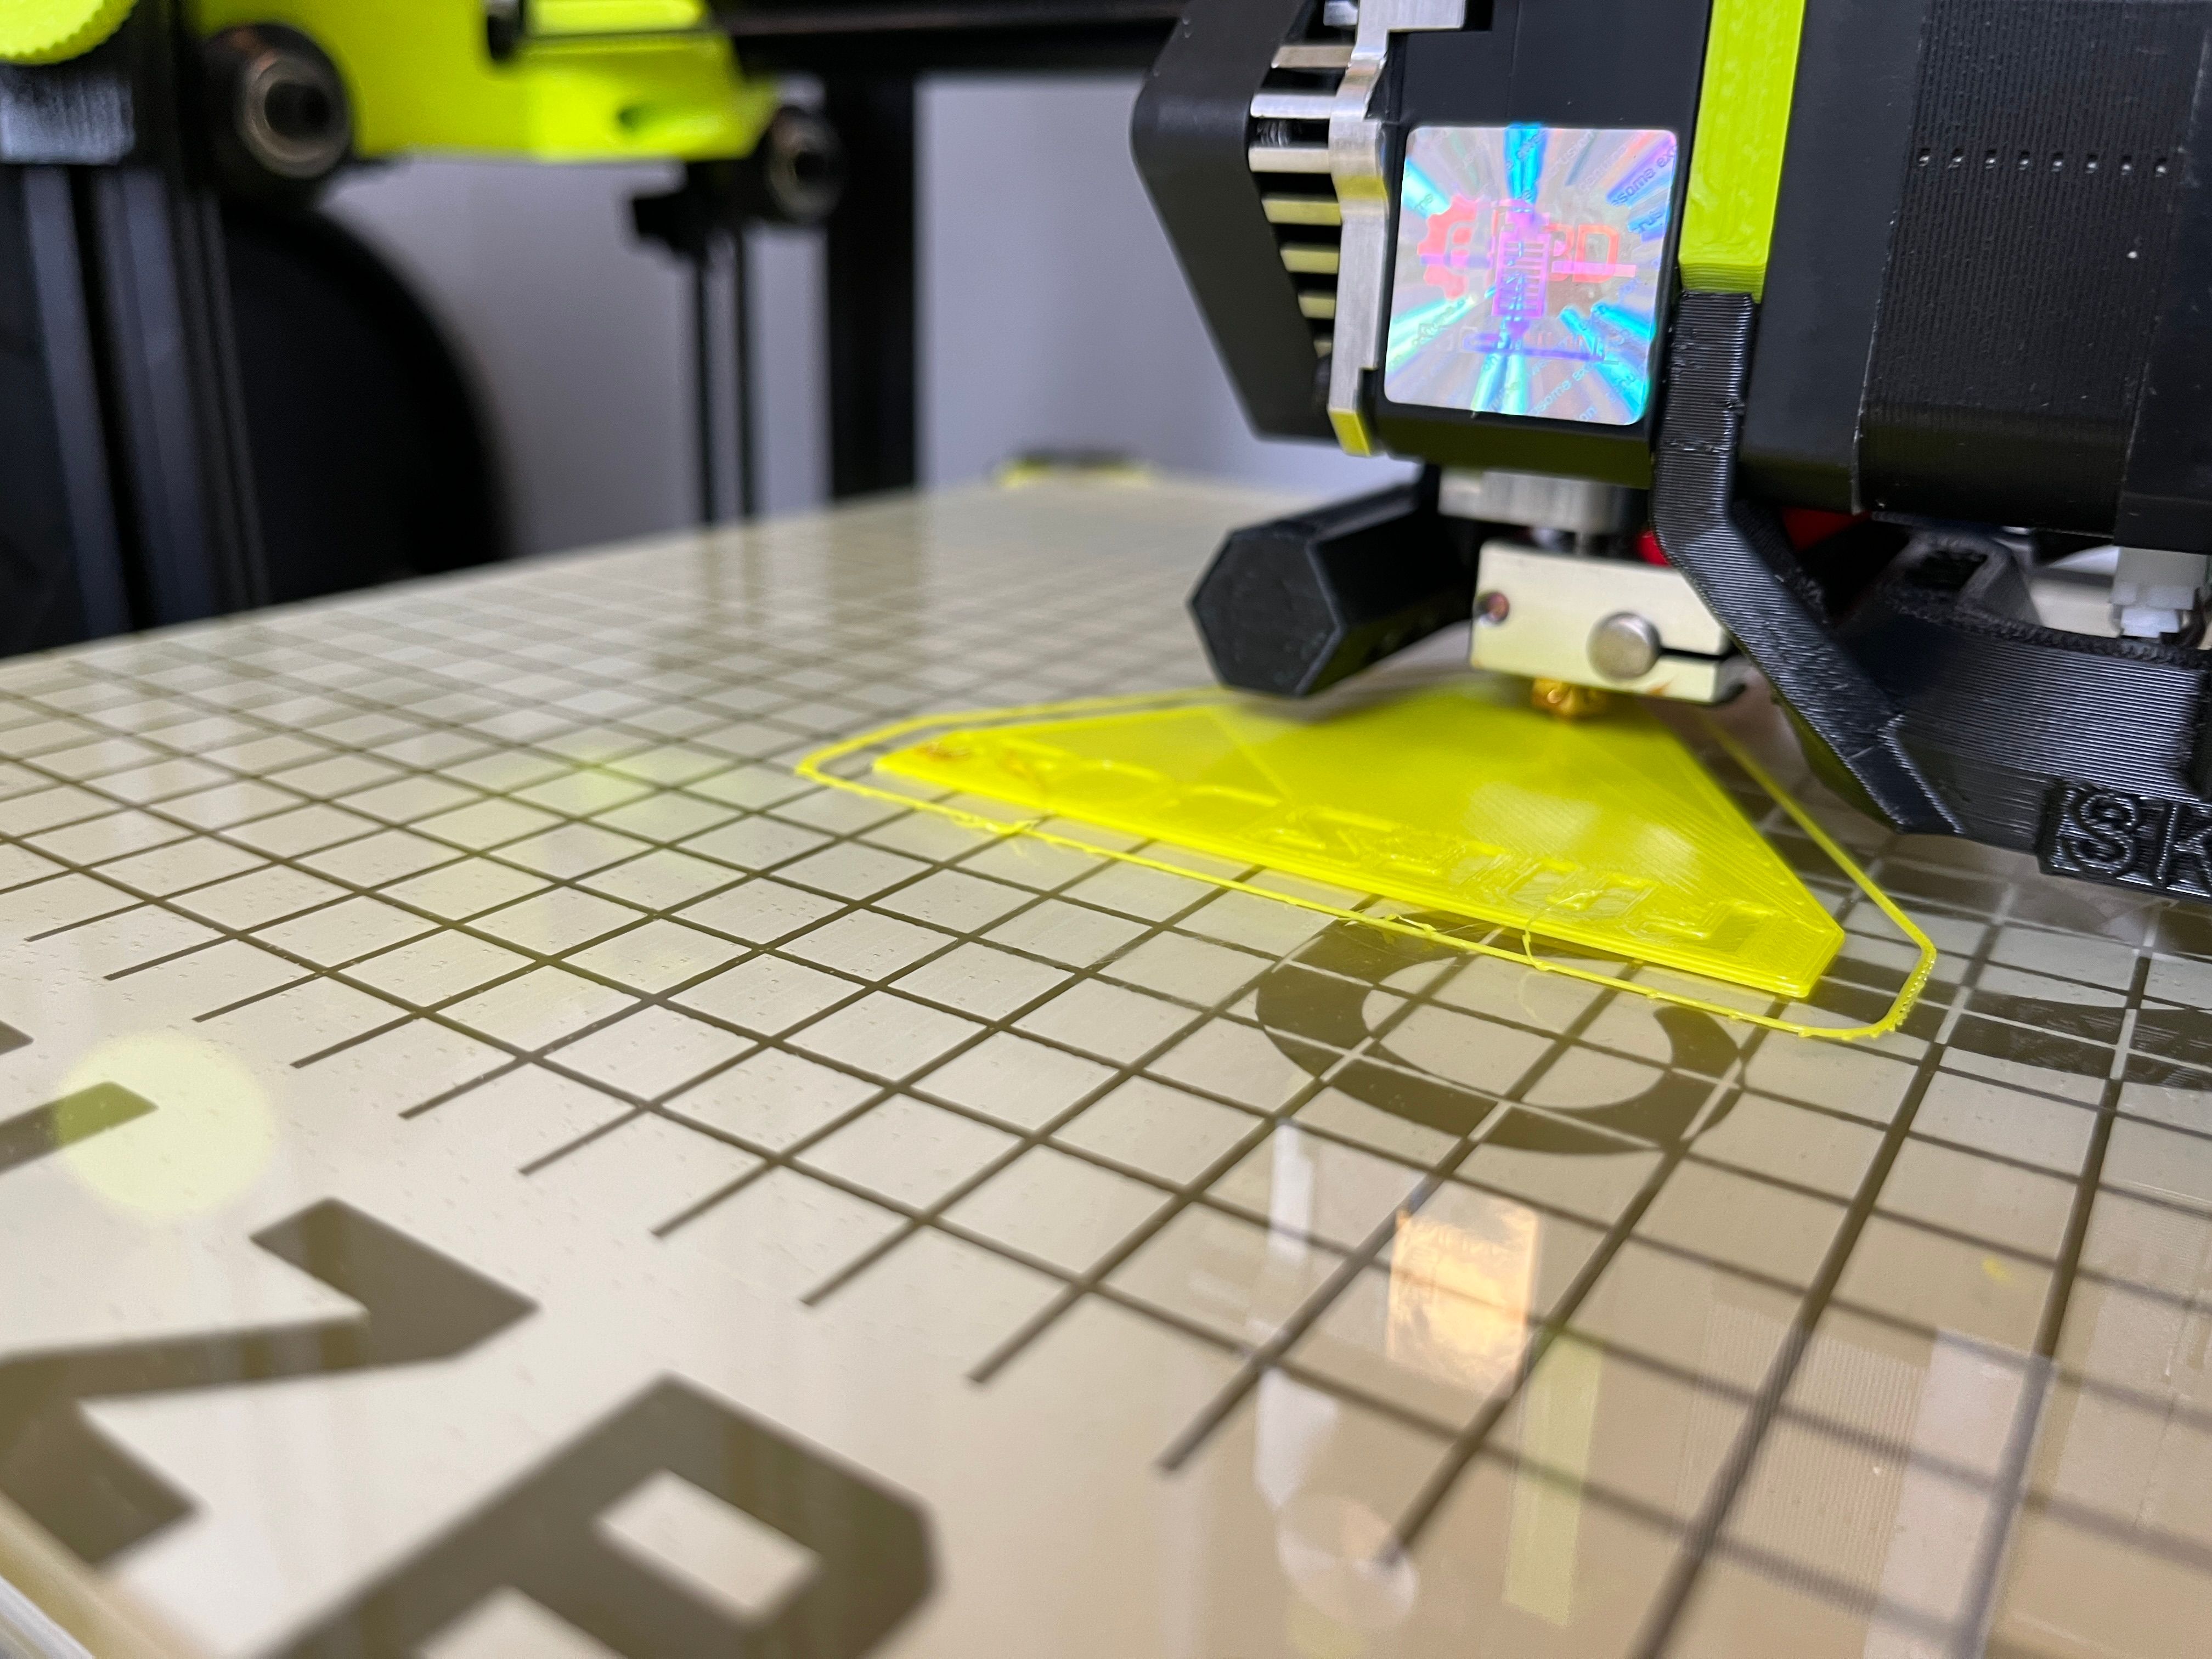
It’s time to dive into printing and testing. There are many filament options that LulzBot offers, but we’ll focus on four types that LulzBot sent me to try out: NinjaFlex TPU (green), Polymaker TPU (yellow), BASF TPU (natural), and JABIL TPE (black).
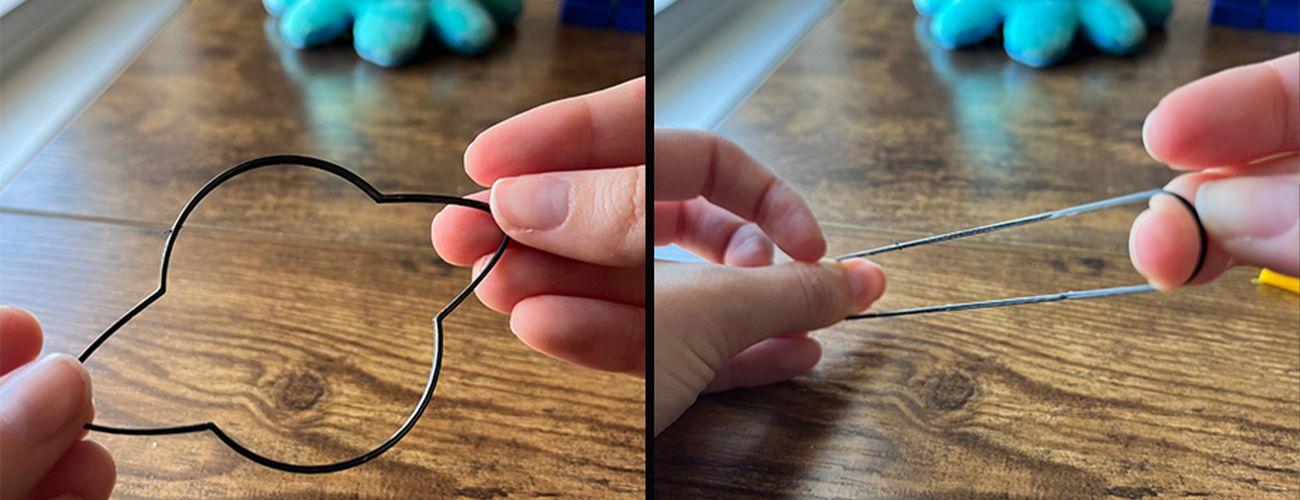
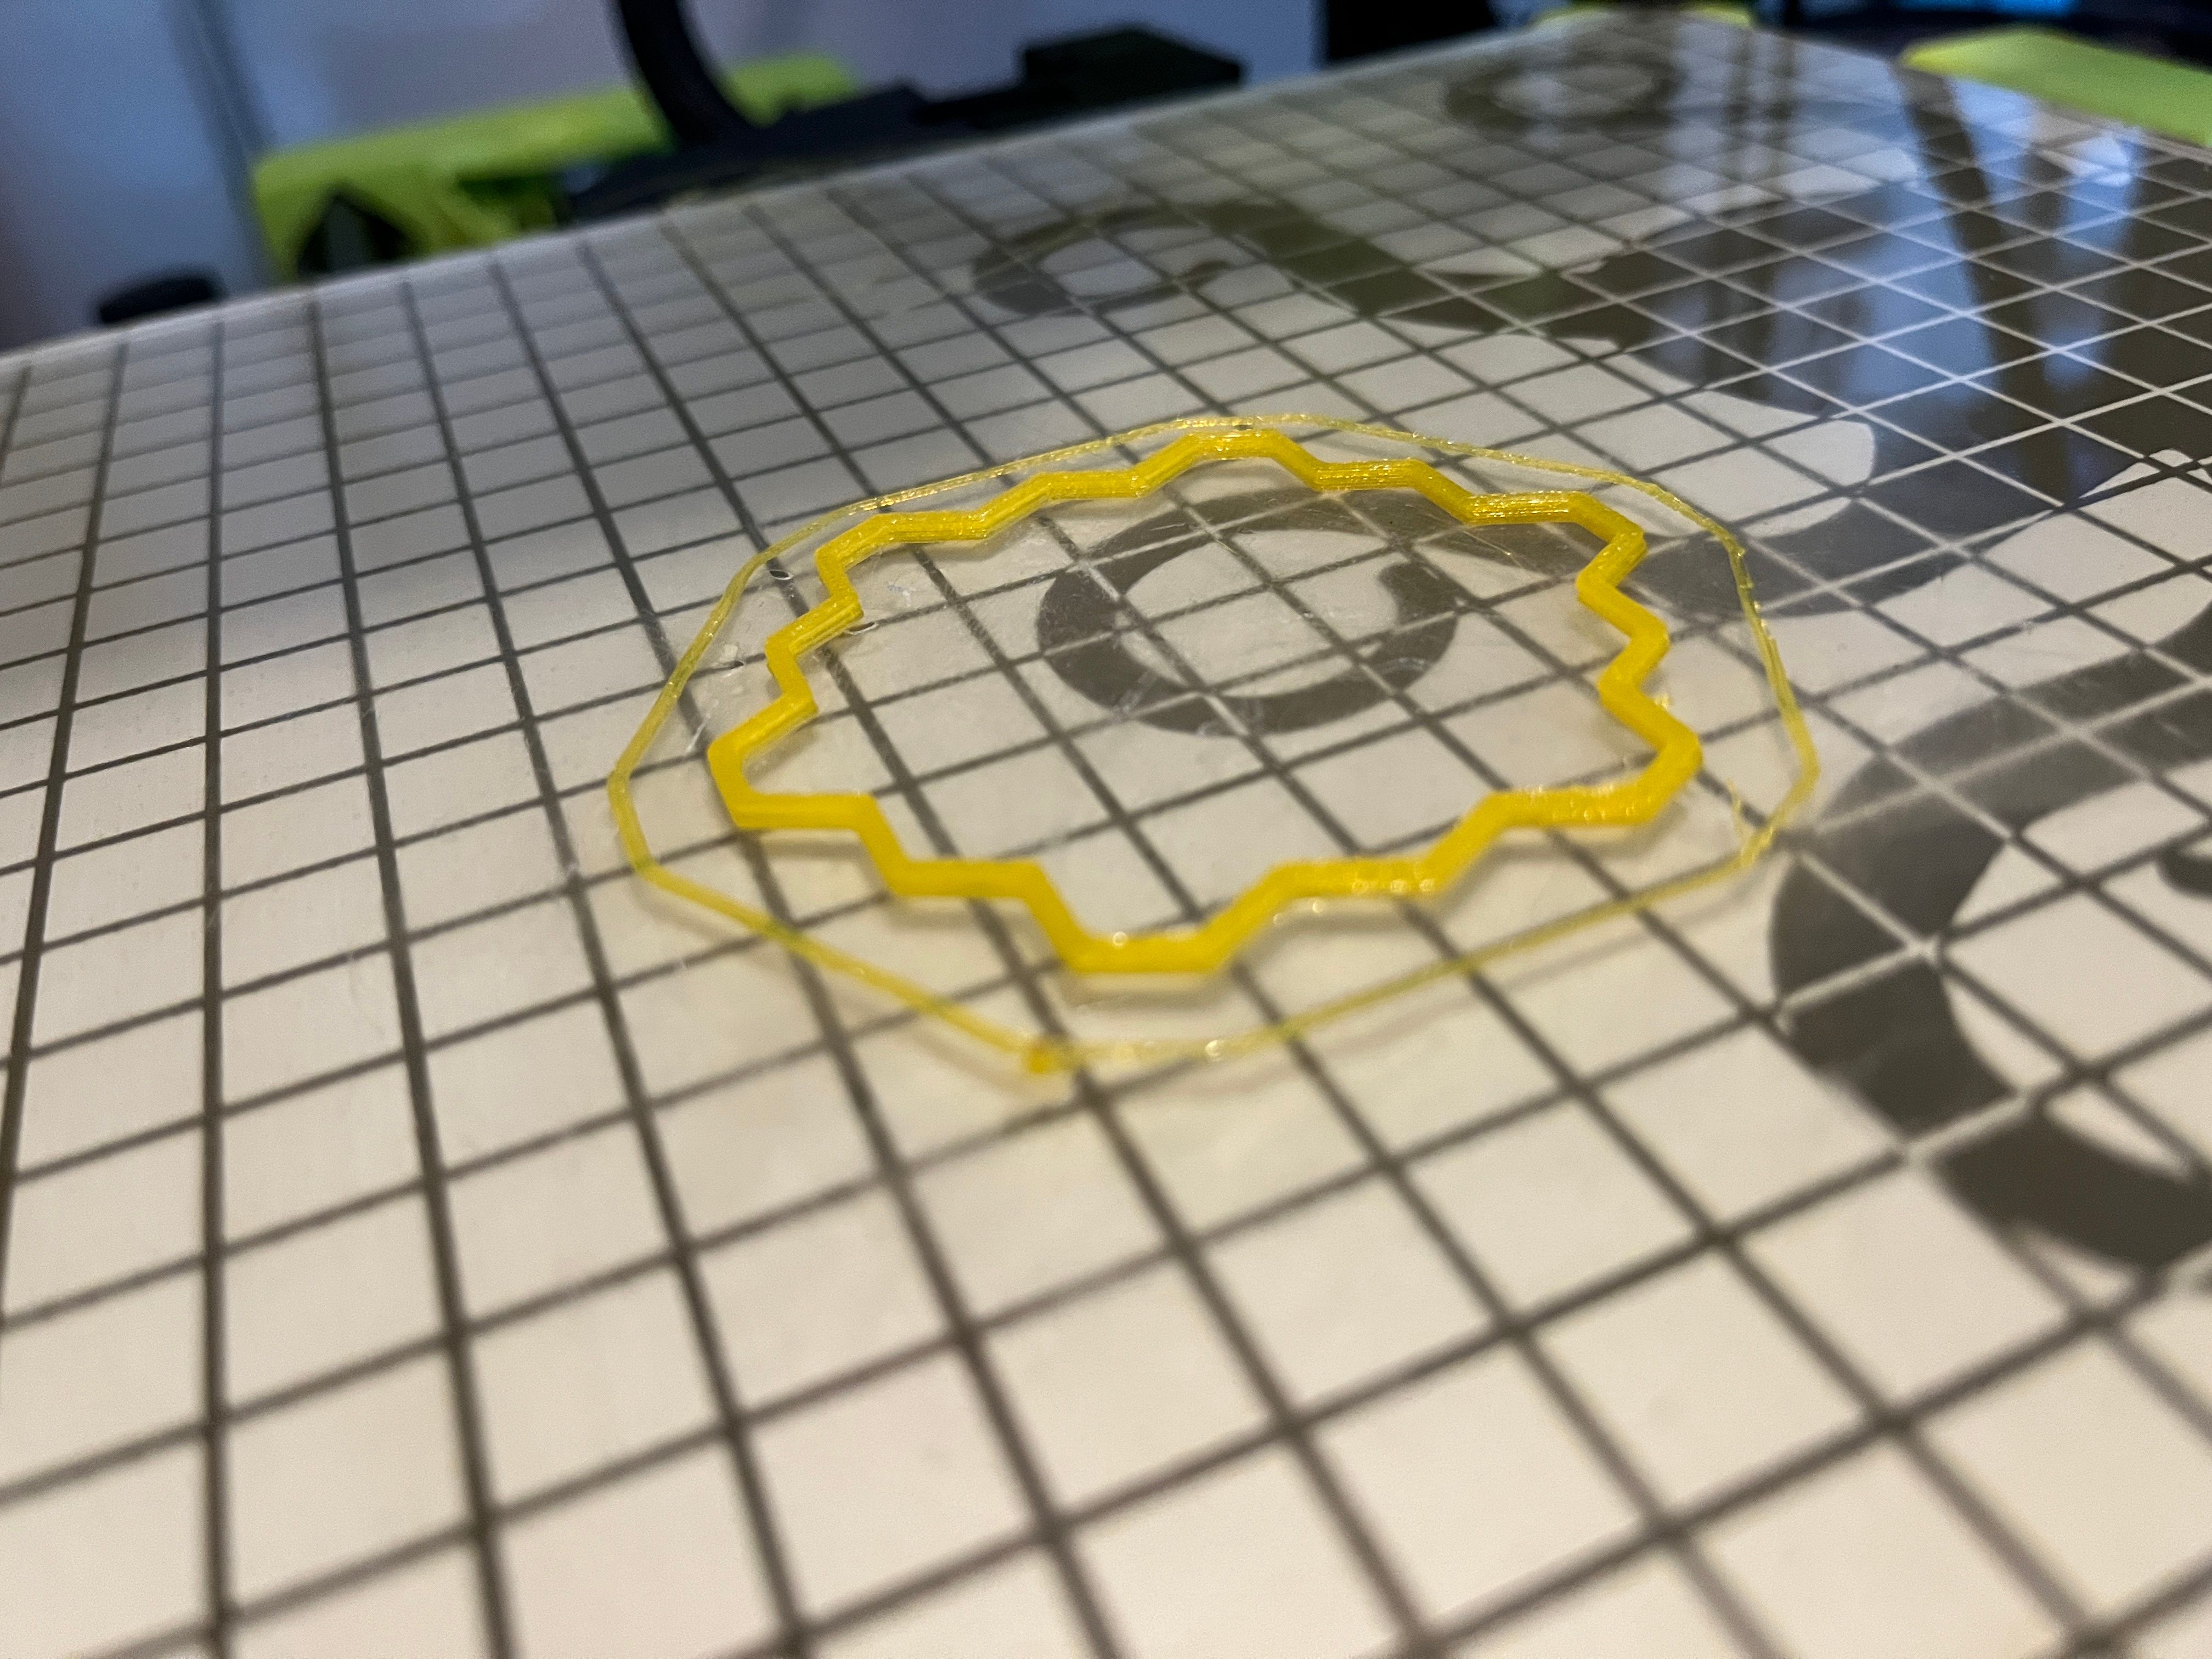
I printed a few models in each material to get a good comparison between them, and understand what it is like using them with LulzBot machines. The models I picked were a LulzBot impression seal included as part of LulzBot's LulzLesson (3D printing lesson plans that can be used in the classroom), a 20 sided die, and a collection of custom space shaped bracelets that I designed. As someone who went to high school during the Silly Bandz craze of the early 2010s, I couldn't resist making some of my own with the bendable filament. These small prints gave a good reflection of the detail, elasticity, and durability of the prints.
NinjaFlex TPU

NinjaFlex is one of the original flexible 3D printing materials and provides some of the best elasticity in a 3D print. This springiness was really impressive. The designs came out super clean from the LulzBot Sidekick 747 printer using the default settings listed in the Cura profile provided by LulzBot. It had very clean levels of detail with almost no stringing.
While it wasn’t the full stretchiness of the original Silly Bandz, it was definitely the closest of all the materials. I was also able to compress the 20 sided die more than the dice made with the other filaments and it bounced back very well. Despite the elasticity, it still felt durable. I think that was my personal favorite one to work with.
Polymaker PolyFlex TPU
For the Polymaker PolyFlex TPU 95A filament I was able to use very similar settings to NinjaFlex. TPU filaments tend to be similar in temperature and settings, but make sure to check the packaging to be sure. The level of detail on this filament was also very high. The spool it came on did create a higher tendency to get tangled when used without a guide tube. So I recommend trying to use the PTFE guide tube, or watching the initial layers longer than typical to make sure it is on the right track.
The 20 sided dice made of this material had the least give of all the designs. The thinner designs were definitely bendable, but it definitely felt on the harder side. This is evidenced also by the higher shore hardness number of 95 for this material.
As one of the more affordable options for filament though, it still performed very well and is one to consider for your project.
Jabil TPE-SEBS

Jabil TPE-SEBS 1300 85A was the only TPE filament tested on the list, so I was very interested to see how it compared to the TPU options. Although it did have a bit more stringing, it still performed very well on the LulzBot printer. This one printed at a higher heat for both the print bed and the filament. I used a temperature of 245 degrees C which tended to give a pretty high print quality.
The end product was a bit silkier and more rubber like. There was a bit more of a softness at its core that made it feel polished. This filament I got in the black color which meant it was the only one that didn’t have any degree of transparency to the final products.
Note you can also purchase this filament in a 3.5kg roll if you are looking for bulk for larger projects.
BASF Ultrafuse TPU

Last up was the BASF Ultrafuse TPU 85A. When you are looking for longer term industrial use, this is a great option. While my print attempts with this one did have the most stringing, I think it just needs a bit more effort dialing in the print.
The prints out of BASF did return perfectly to their original shape, even when bent or indented pretty dramatically. It felt very durable. Ultrafuse has a number of unique properties with resistance to hydrolysis, resistance to microbiological attack, high wear resistance, and excellent damping behavior. Definitely check this out for parts that need long term bounce back and flexibility like manufacturing tools and jigs.
Overall, all of the materials worked so much better on my LulzBot printer than I expected. I thoroughly expect these to be a frequent part of my printing projects from now on.
And there are plenty more flexible material options offered by LulzBot as well for you to explore.
Tips
Lastly, some general tips for purchasing and using all of these materials on your LulzBot 3D printer:
- Flexible filaments are often sold in quantities of 0.75kg or 1kg. Be sure to check the amount when you purchase to make sure you have enough for your project.
- To allow for more squish or bend, use a lower density of material inside of your designs. For my 20 sided dice that I printed, I wanted them to have some bounce when they rolled, so I used a 10% infill. The impression stamps had areas with thin backing that also allowed for a bend.
- All of the filaments take some extra pressure to get them initially loaded into the tool head. Since it bends and flexes while being loaded into the machine it takes some careful guidance, and then a bit of force to get it to catch on the gears inside the Tool Head.
- When loading the filament, be sure to check the temperature on the LulzBot printer. Flexible filaments have differing temperature requirements that don’t match the default ABS or PLA profiles on the printer.
- Some filaments work better when the tension is reduced. That might mean unspooling and respooling some of the filament as it can tend to slightly stick to itself on the spool, or removing the PTFE guide tube.
So get out there and get printing! Having a few spools of flexible filament is always great for opening up new ideas, and allowing for unique creative projects. I’m definitely going to experiment with more fashion applications of these filaments down the line, and I can’t wait to see what you make on your LulzBot printer with them too.
About guest author Erin Winick

Erin Winick has a B.S. in mechanical engineering with extensive experience working as a STEM communicator. Previously working as a science communicator for the International Space Station and reporter for MIT Technology Review. Erin devotedly enjoys teaching others about STEM and has lead many freelance and personal STEM communication projects. In her free time she pursues her passion of 3D printing while designing science and engineering inspired projects and clothes.
Shop the specific filaments and tools mentioned in this article:
NinjaFlex 85A | Polymaker PolyFlex TPU 95A | JABIL TPE-SEBS 1300 85A | BASF UltraFuse TPU 85A
LulzBot SideKick 747 | Glass/PEI print bed | Magnetic print bed | PTFE Tube | Print beds | Tool Heads
Photos courtesy of Erin Winick 2023